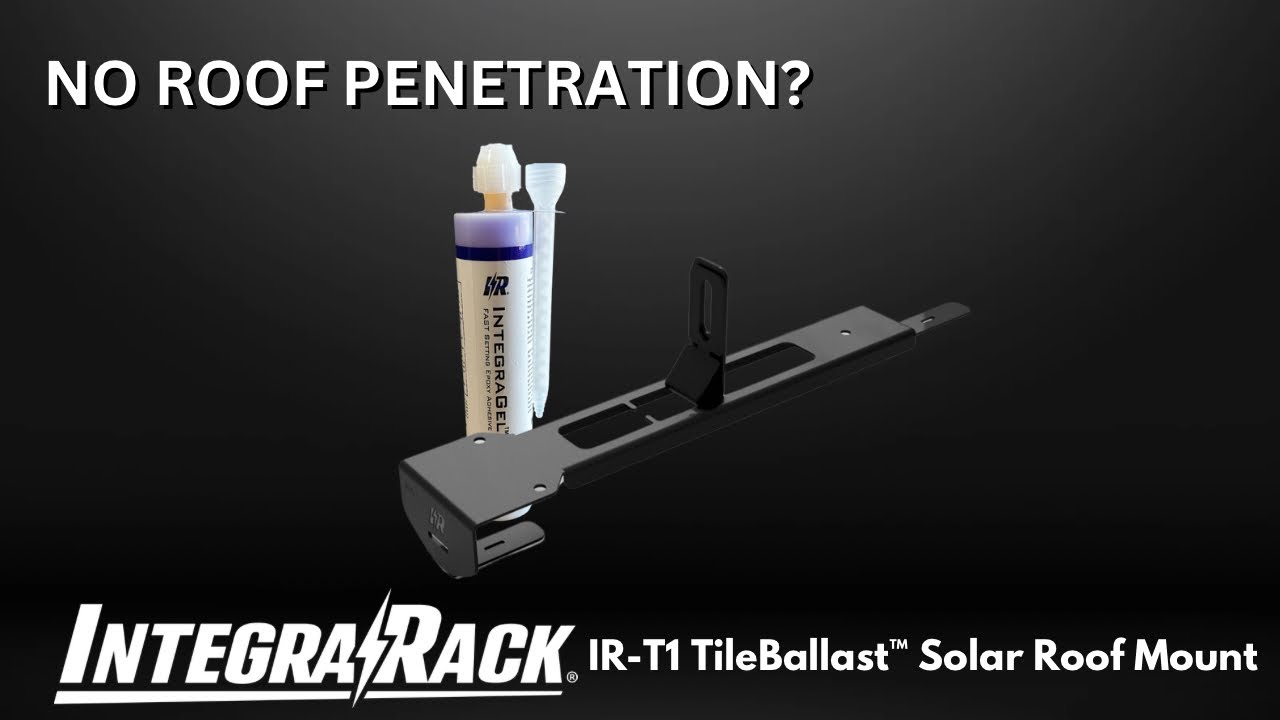
About the IntegraRack IR-T1 TileBallast System
The IR-T1 replaces the traditional tile hook on concrete tile roofs and carries a solar array without drilling into the deck or pulling tiles. Instead of penetrating a rafter, it bonds and clamps to the existing tiles and turns their weight into the anchor. The roof's water seal stays intact, and a typical mount comes down to about two minutes of work.
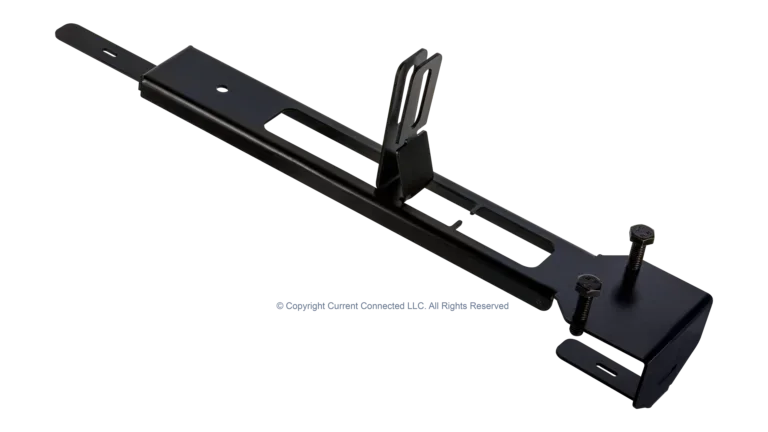
How the No Penetration Ballast Method Works
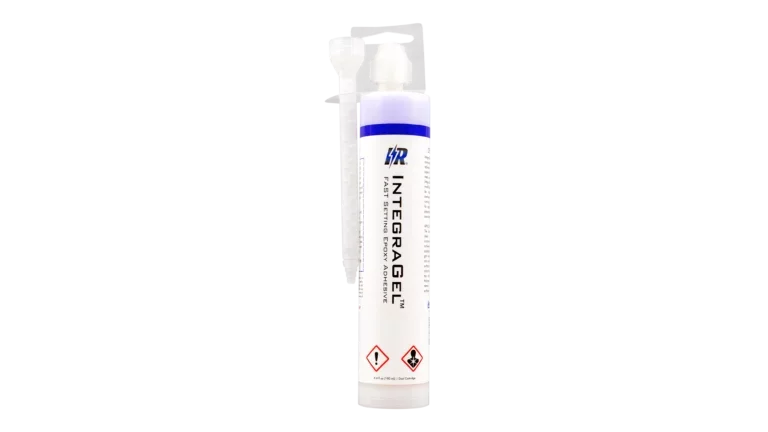
Each one-piece bracket slides its two integrated hooks under the upper and lower courses of tile at a single location. A bead of IntegraGel concrete adhesive bonds those tiles together, and the overlapping tiles around them nest the assembly in place. The result is one heavy ballasted foot built from multiple bonded concrete tiles, holding the mount down by mass rather than by a fastener driven into the structure. Two tension bolts clamp the bracket to the tile and give it enough holding strength to load modules right away, before the adhesive has fully cured. A built-in flex point lets those bolts tighten against the tile without cracking it.
Wind and Snow Load Ratings by Rail Spacing
Load capacity scales with how closely the mounts sit along each rail. At one mount every 6 feet, the IR-T1 is rated for 120 MPH wind and 10 lbs per square foot of snow. Tighten that to one mount every 4 feet and the rating climbs to 150 MPH wind and 15 lbs per square foot. Each mount supports a solar module up to 24 square feet, and resists roughly 175 lbs of direct uplift. The bracket's holding strength was validated in aeronautical wind tunnel testing. Designers working in high-wind or heavy-snow regions should set mount spacing from these figures rather than defaulting to the 4-foot maximum.
Concrete Tile Compatibility
The IR-T1 is built for concrete tile and fits flat, S, and W profiles. Tiles need to be at least 1.25 inches thick with row spacing between 11.75 and 15.5 inches, which covers most concrete tile roofs. The ballast method relies on the weight and overlap of concrete tile, so the bracket is rated for concrete only. It is not compatible with clay tile, including Spanish clay profiles. Because the mount transfers load into the tiles rather than the rafters, the existing tiles need to be soundly fastened to the deck before installation.
Integrated Upright and Rail Compatibility
The current IR-T1 is a single piece: the two mounting hooks and the rail upright are formed as one, with no separate foot to assemble or slide. The upright carries an open height-adjustment slot that takes the T-bolt from your rail system, the same way a standard tile hook does, so it works with any standard rail, including IronRidge, SnapNrack, K2, and Unirac. Rails and their T-bolts are sold separately.
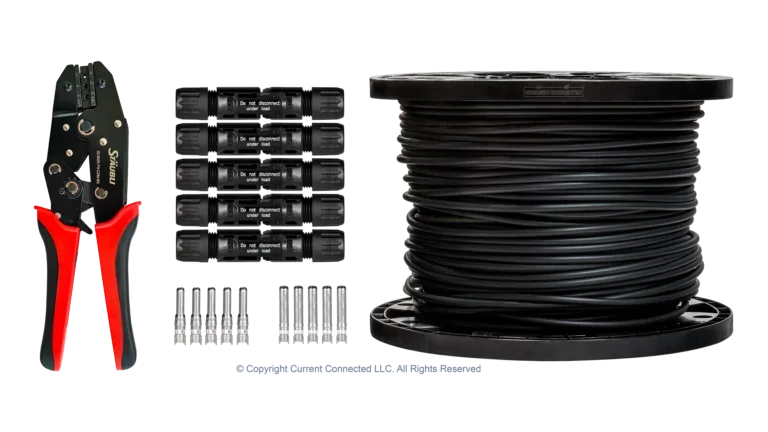
Installation, Grounding, and Adhesive
A single mount installs in under two minutes: bond the tiles with IntegraGel, slide the bracket's two hooks under the upper and lower tile rows, tighten the two tension bolts, and attach your rail to the integrated upright. The tension bolts hold firmly enough to load modules before the adhesive cures, and the integrated flex point keeps that bolt tension from cracking the tile. One tube of IntegraGel covers about ten brackets and is sold separately; IntegraRack IntegraGel is the matched adhesive and stocked here. Grounding and bonding are the installer's responsibility: provide a direct-to-earth ground per NEC 250 and NEC 690, and keep bare copper grounding wire off the zinc-plated steel to avoid galvanic corrosion. The IR-T1 conforms to UL 2703 mechanical and bonding requirements and is backed by a 25-year limited warranty.